










Self-Adhesive Rubber Sealing Strips: A Specification Guide to Peel-and-Stick Sealing
Self-Adhesive Rubber Sealing Strips: When Peel-and-Stick Is the Right Answer
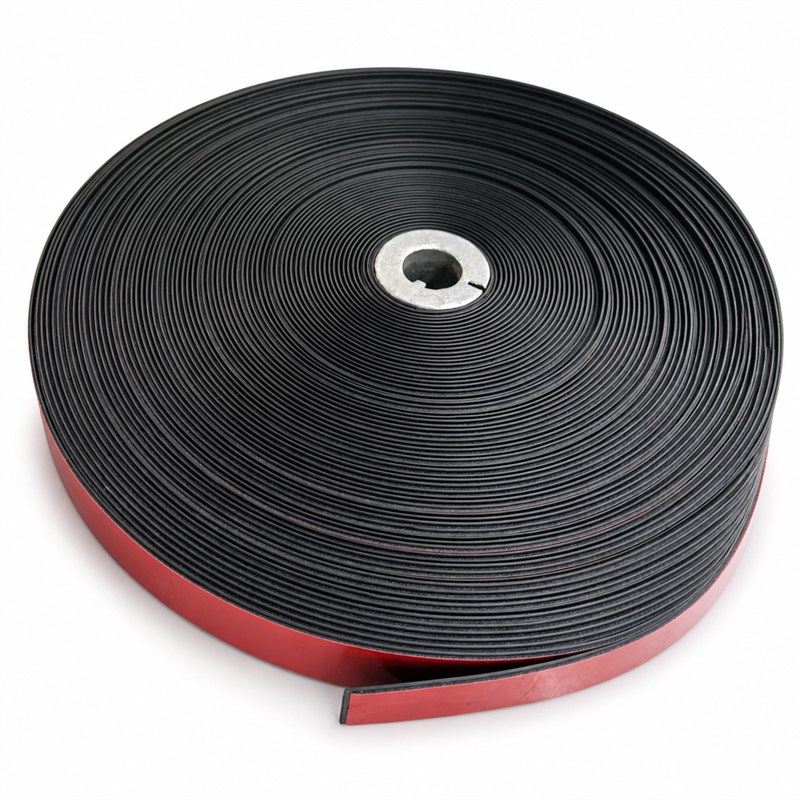
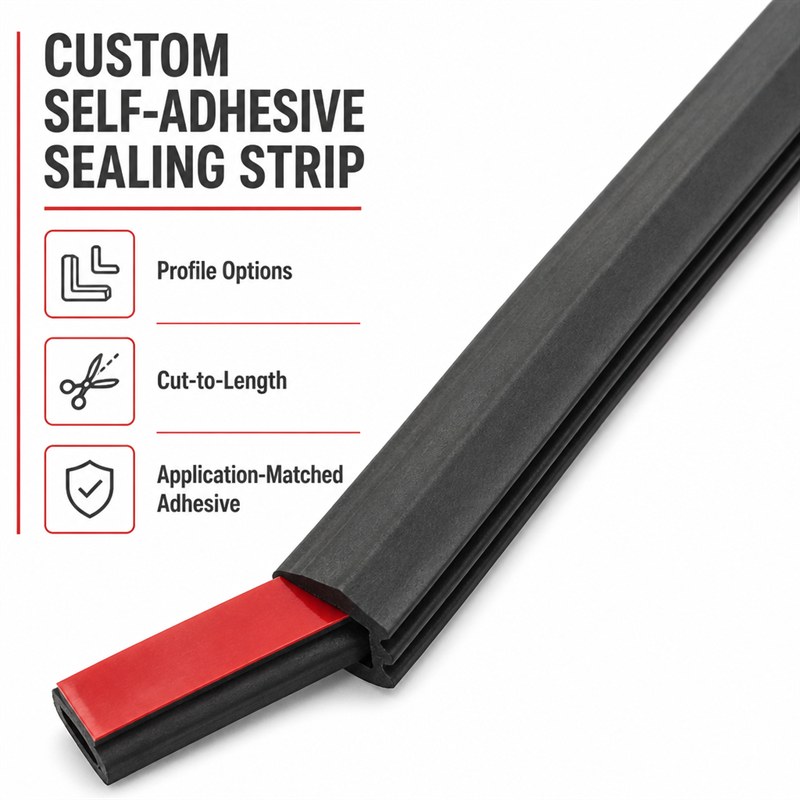
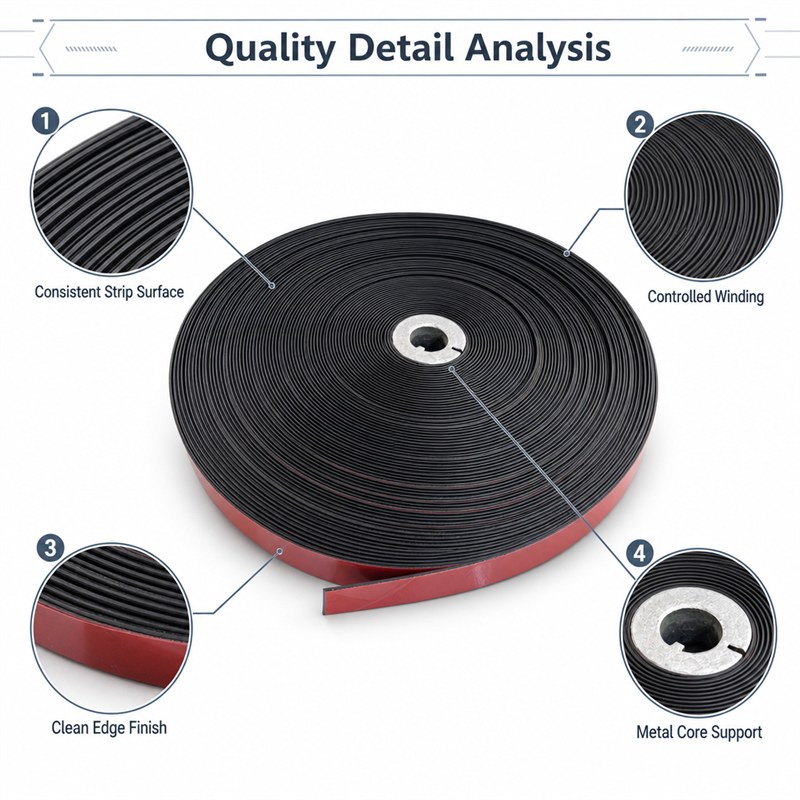
A self-adhesive sealing strip is a rubber or silicone profile with a pressure-sensitive adhesive (PSA) layer and a release liner. The profile does the sealing; the adhesive replaces screws, clips and retention grooves. Peel, press, done — no drilling, no secondary operations on your assembly.
That simplicity is also why failures happen: most peel-off complaints trace back to adhesive selection or surface preparation, not the rubber. This guide walks through the decisions that make an adhesive-backed strip hold for the life of the product — mounting method, adhesive chemistry, surface prep, compression, and the specifications to send your supplier.
If you are still deciding between profile shapes and rubber compounds, start with our guide to choosing the right sealing strip profile and material; this article assumes the profile decision and focuses on the adhesive-mounted version.
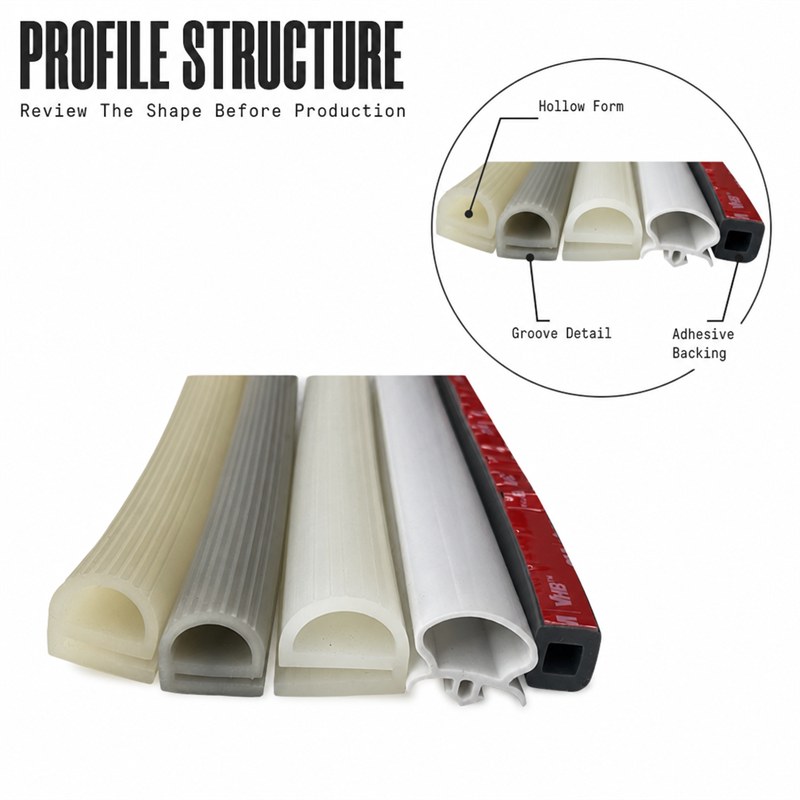
1. Anatomy: Profile, Adhesive Layer, Release Liner
Every self-adhesive strip has three functional layers, and each one is a specification item:
- Sealing profile — the extruded rubber or silicone body. Hollow, solid or sponge section, chosen for the gap and compression you need.
- PSA layer — a pre-applied pressure-sensitive tape, typically acrylic or rubber-based, laminated to the mounting face.
- Release liner — the protective film peeled off at installation. Red or clear liners also protect the adhesive during storage.
Two details matter at this level: contact width (how wide the adhesive face is — wider means higher peel resistance on curved or vertical surfaces) and liner removability (a liner that tears or delaminates the adhesive slows down assembly lines).
2. When Peel-and-Stick Beats Mechanical Fixing
Adhesive backing wins in four situations, and loses in one that buyers should know:
- Thin walls and cosmetic surfaces — no screws means no penetration marks on enclosure panels, glass frames or appliance doors.
- Long, complex paths — a continuous strip follows a curved channel better than spaced clips, which leave seal-gap waves between fixing points.
- Field retrofit — existing equipment can be resealed without re-machining.
- Assembly speed — one pressing operation replaces drilling, tapping and screw driving.
The case against: high peel loads. If the seal is on a frequently opened door where the adhesive takes the peeling force every cycle, specify a mechanical retention groove instead — or combine a light tack adhesive for positioning with a groove for the structural hold.
3. Choose the Adhesive System Deliberately
Not all PSA layers are equivalent. The two families behave very differently:
- Acrylic adhesive — the default for long-term sealing. Better temperature resistance (roughly −40 °C to +120 °C continuous), better UV and ageing behaviour, and bonds strengthen over 48–72 hours of dwell time. Slower initial grab.
- Rubber-based adhesive — very fast initial tack, good on low-energy surfaces, but weaker on heat and UV. Right for indoor, ambient-temperature assemblies and short service expectations.
Also state the substrate: painted metal, powder coating, anodised aluminium, ABS, PC and glass each interact differently with the adhesive. Low-surface-energy plastics may need a primer or a specialist adhesive — tell your supplier what the strip will stick to and the application will be matched at lamination, not assumed.
4. Foam or Solid: Match Compression to the Gap
The adhesive decides how the strip attaches; the profile decides how well it seals:
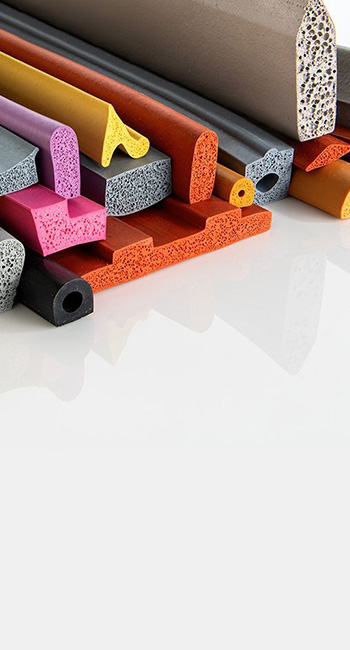
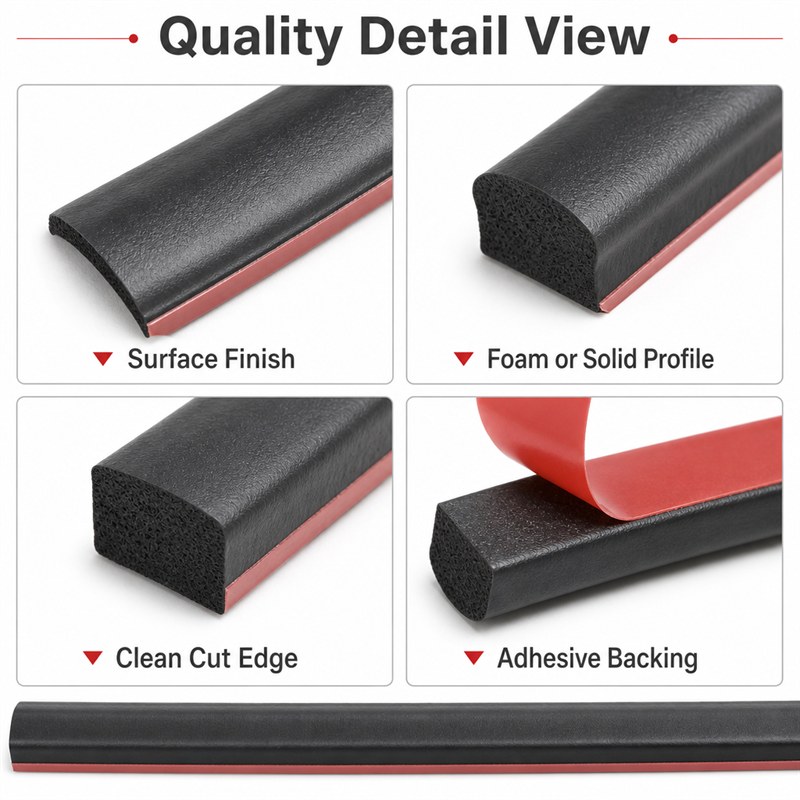
- Sponge / foam profile — compresses 25–50% at low closing force. Best for uneven gaps, lightweight doors, dust and light water splash.
- Solid profile — low compression, high recovery. Best for defined channels, higher closing forces and repeated compression cycles.
- Hollow section — a middle path: soft feel with structural recovery, common on appliance and equipment doors.
A frequent OEM mistake is choosing foam for a heavy door: the foam takes a permanent set, the door sags against the frame, and the seal is blamed for what is really a compression-set failure. Match the profile to door weight and closing force first, then confirm the adhesive face is wide enough for the peel direction.
5. Surface Preparation: Where Most Failures Start
PSA adhesives bond to the surface you give them, and production dust, release agents and fingerprints are invisible killers. The four-step routine that holds:
- Clean with isopropyl alcohol (IPA); avoid silicone-containing cleaners — a silicone film will defeat any adhesive.
- Dry and cool — apply at 15–35 °C. Below 10 °C, most PSAs will not wet the surface properly.
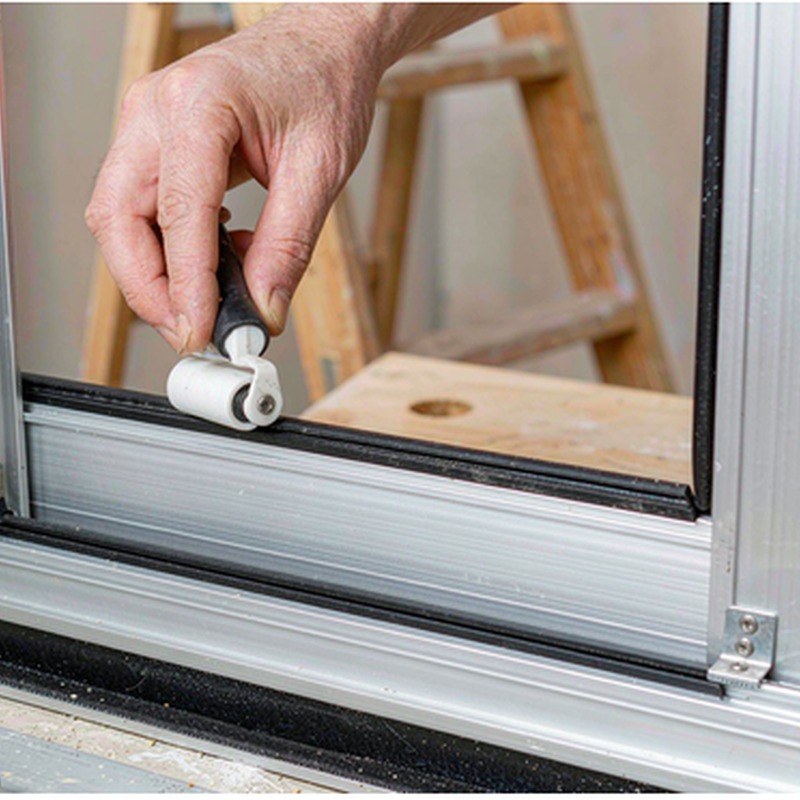
- Press with a roller — firm, even pressure along the full strip; adhesion is pressure-activated, not time-activated.
- Respect dwell time — handle gently for the first 24–72 hours while the bond builds to full strength.
Print these four lines on the assembly work instruction. It costs nothing and removes the most common warranty argument.
6. Where Self-Adhesive Strips Are Used
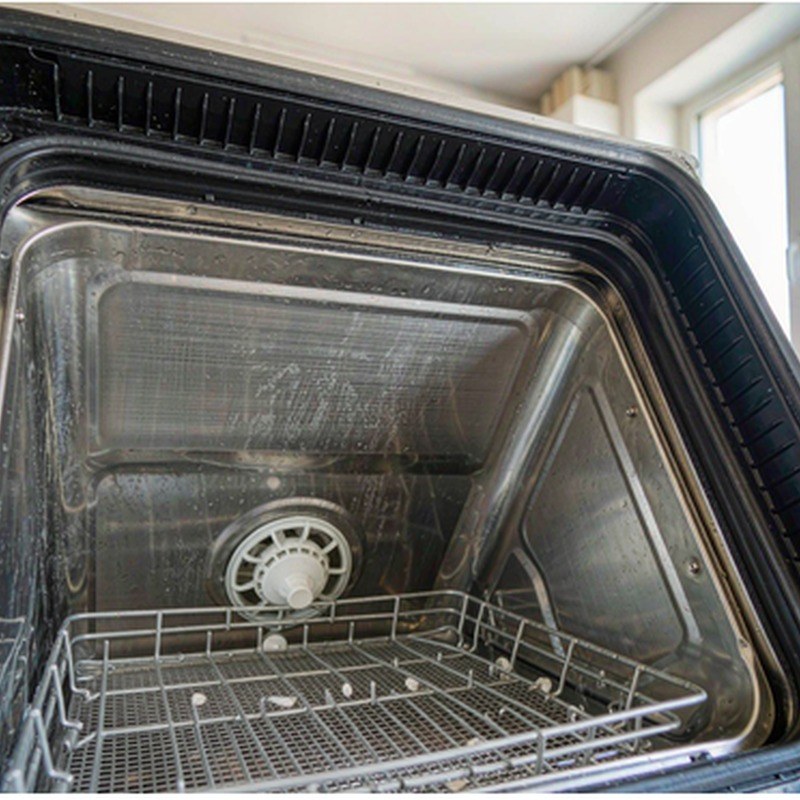
Appliance and equipment doors
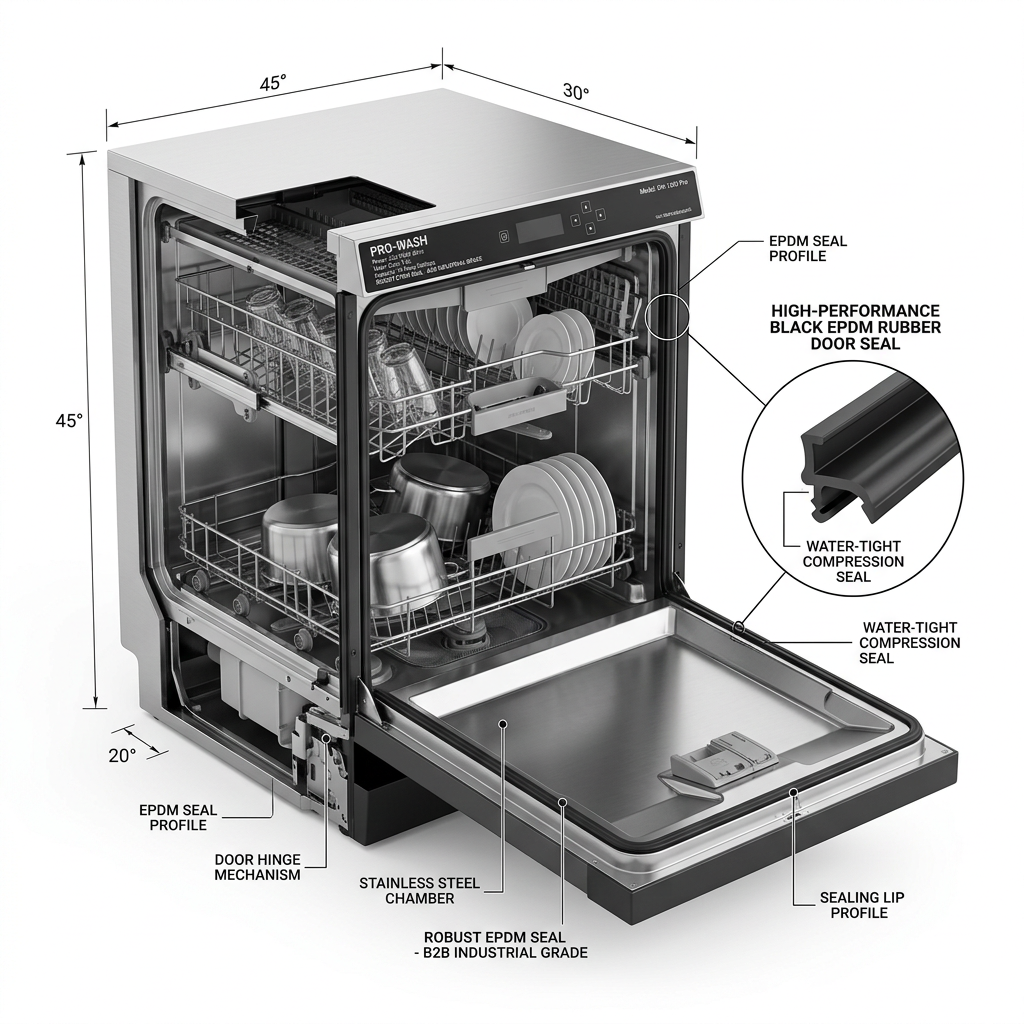
Dishwasher, oven and refrigeration doors combine cosmetic panels with irregular gaps — exactly where a compressible adhesive-backed sponge strip outperforms a clipped gasket. Food-contact zones should move to a platinum-cured silicone profile.
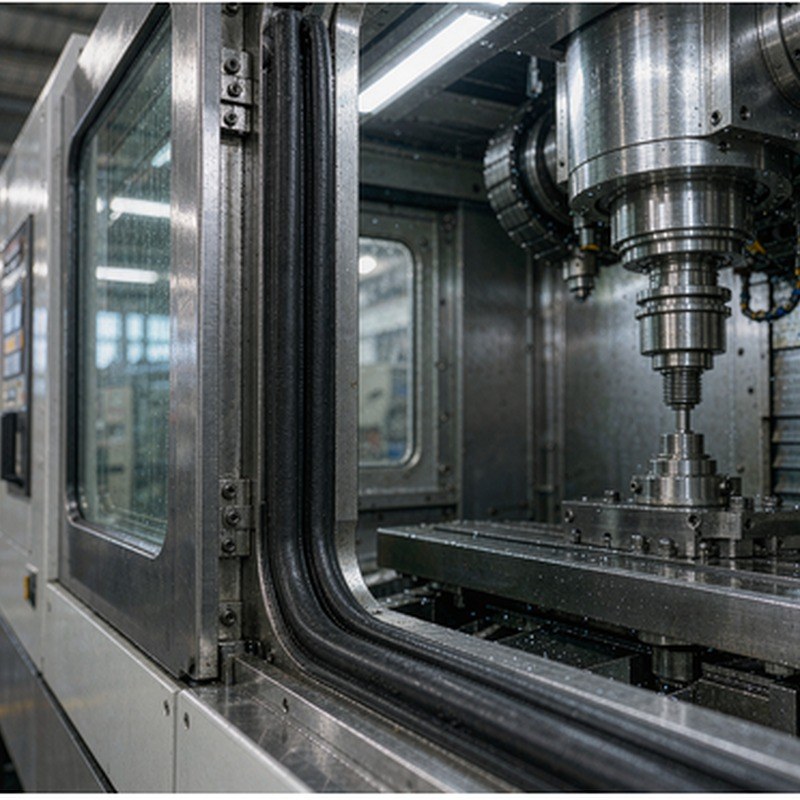
Machine enclosures and control cabinets
CNC and electrical enclosure windows need an IP-rated, vibration-stable seal that installs without drilling the frame. Adhesive-backed hollow profiles are the standard answer.
7. Specifying Dimensions and Tolerance
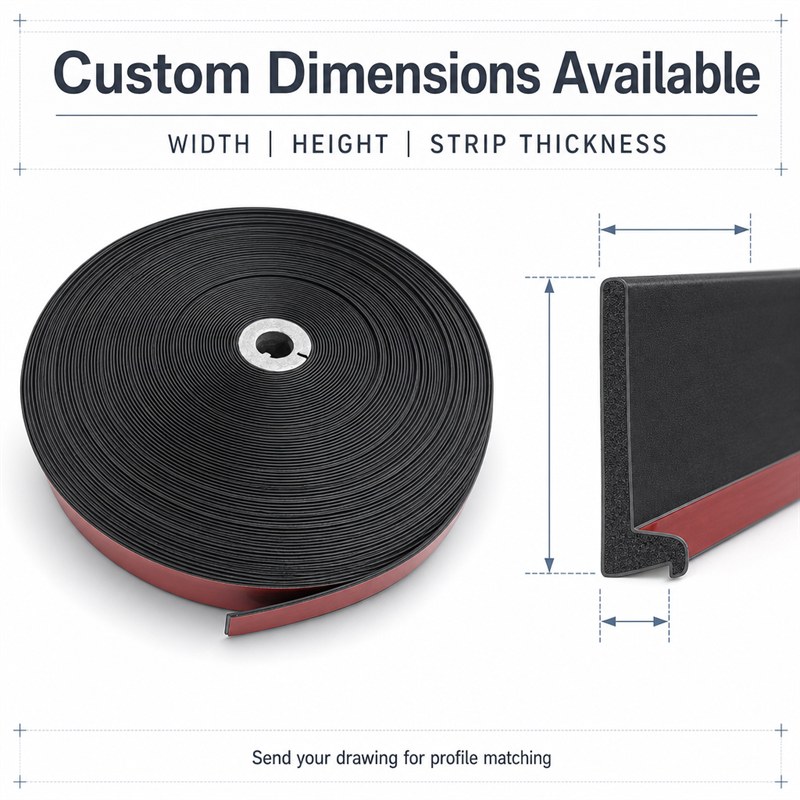
Adhesive-backed strips add one dimension to the usual width × height callout — and it is the one most enquiries forget:
- Profile width and height — as with any sealing strip, quoted against the gap at the closed position.
- Adhesive face width — the bonded area; size it for the peel load, not just for looks.
- Strip thickness / liner-side tolerance — affects both compression and how the strip sits in shallow channels.
- Length and splicing — continuous coils, cut lengths, or mitred/spliced frames for door perimeters.
State the dimensions against the installed position (door closed), because the compressed cross-section is what has to seal — the free-state section is derived from that.
8. Hardness, Material and Colour Options
Once the geometry is fixed, tune the compound:
- Hardness — sponge and solid sections are each graded by Shore hardness; softer means easier closing, harder means better recovery.
- Material — EPDM for weather and water, silicone for temperature and food contact, PVC/TPV for cost-sensitive indoor duty. Our full compound list is on the materials and process capabilities page.
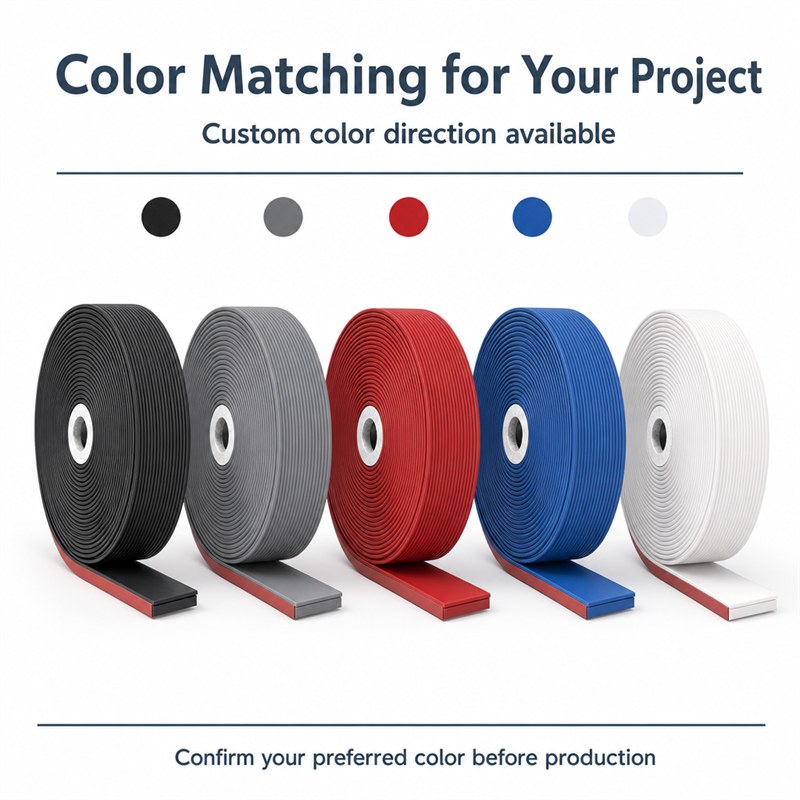
- Colour — custom colour matching is available for both the profile and, within limits, the adhesive liner colour for brand-visible edges.
Confirm your preferred colour and hardness on a signed sample before production — the photo on a quotation is not a colour standard.
9. OEM Workflow and What to Check on Samples
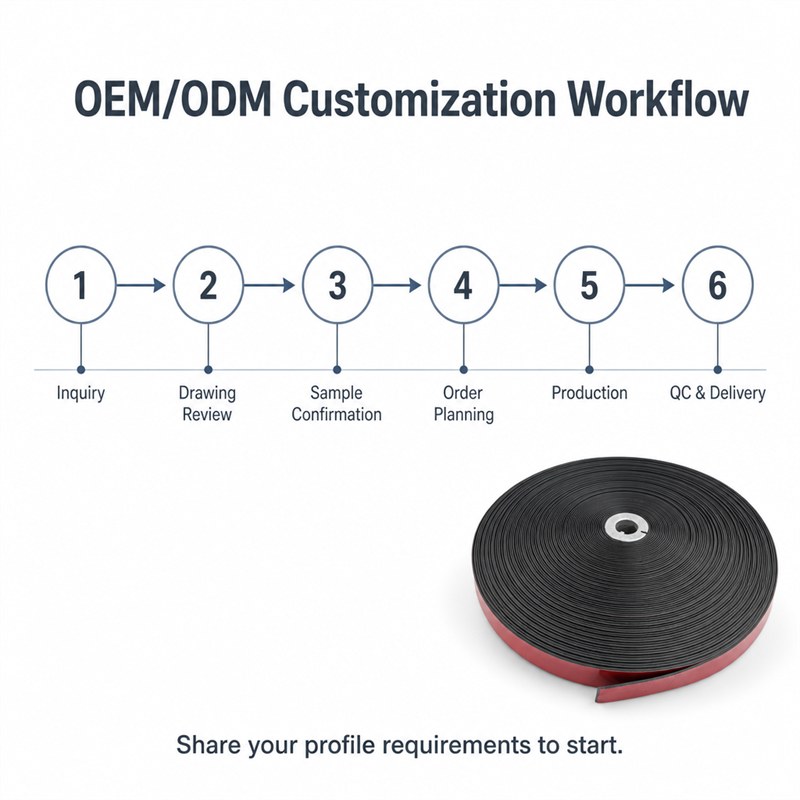
A drawing-led workflow keeps adhesive-backed strip projects predictable: inquiry → drawing review → sample confirmation → order planning → production → QC & delivery.
On the sample, verify:
- Adhesion on your actual substrate, after 72 hours of dwell — not on the supplier’s test plate.
- Peel behaviour after a heat-ageing cycle matching your worst-case interior temperature.
- Compression set after 22–70 h at temperature, against the gap you measured.
- Liner peel force — it should come off cleanly at assembly-line speed.
- Cut quality: square ends, clean edges, no adhesive squeeze-out at the cut.
10. What to Send for an Accurate Quote
Six items turn an adhesive-strip enquiry into a firm quotation:
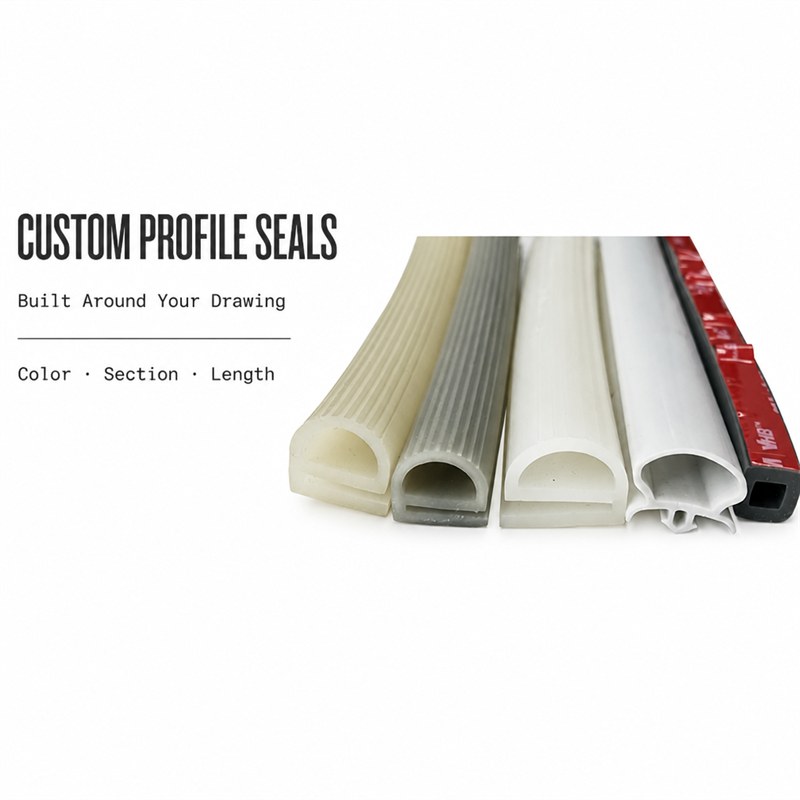
- Profile drawing or a sample — section, width, height, wall thickness.
- Material and hardness, or the environment it must survive.
- Substrate the adhesive will bond to (material, coating, surface energy).
- Gap range at the closed position and door weight / closing force.
- Working temperature range, indoors or outdoors, UV exposure.
- Annual volume, supply form (coil / cut length / spliced frame) and packing.
Send these and we can confirm the adhesive system and profile, then issue a sample for line-side testing. Browse the sealing strip product range or start directly through our custom rubber solution service — the contact page has the direct channels.
Bottom Line
A self-adhesive sealing strip is a system: profile + adhesive + surface. Specify the three together and peel-and-stick sealing is the fastest, cleanest mounting method available for enclosures, doors and frames; treat the adhesive as an afterthought and no rubber compound will save the joint.
Measure the gap, name the substrate, and insist on substrate-tested samples — that is the whole discipline. Talk to our engineering team about your self-adhesive strip specification.